Pages

Sunday, July 14, 2013

Card Kit Pictures

We did some cards at our scrapbooking night last month & I've been promising to upload the pictures. Finally, here they are!

I still have some of these card kits available for $30.  The kit makes 2 of each card shown.  If you are interested in a kit, just let me know.

 I used Close to my Heart products for most of the cards I made:

Western Howdy:
  •  Stamp sets -Lovely Buckles stamp set for the buckle & belt & blue jeans stamp for the pocket.  
Hints - when you attach your belt & pocket make sure you leave an opening for your little howdy card (or whatever you want to put there) to slip inside.  I just put adhesive around the edges of the pocket & left the top open.

I used plain little brads on the belt & hammered them flat to make the embellishment on the belt.


Baby Cards:

Sorry the green one doesn't show up, I'll try to add another pic later.

Hints:  attach the onesie to the little coat hanger & trim the extra away.  I cut the hanger at a larger size because the hanger kept breaking when it was cut smaller.  Attach the onesie to the circle with pop dots.


Happy Birthday Embossed Card:

  • sand the embossed cardstock to reveal the white core, sand as little or as much as you like.
  • attach the ribbon to the cardstock before it is attached to the card base to hide the edges of the ribbon.

Split cards:
  • I used paper instead of ribbon on these 2 cards, hide edges under the cardstock before attaching to card base.


  • The black & white paper is "For Always".  I used ink & a small dauber to color the paper to match the colored cardstock.  You can make it any color you want to! 
  • The sentiment is matted in black & added with dimensional adhesive (foam tape, etc.)


Pinwheel:
  • I will add a post to go over making this pinwheel, but I wanted to post the pic for those of you who know how to make that part already.


Thank You Butterflies Card:
  • The "you" part of this card needs to be trimmed before you add it (this will be pretty obvious when you look at the piece in your kit); the way it is cut on the Cricut isn't the way we need it for this card.  Just use small scissors to trim it.
  • I used "Desert Sand" ink & a small dauber to darken the "you" after I trimmed it.  It's totally up to you, I just thought it looked better that way.  I also inked the edges of all the pieces.
  • The antennas on the butterflies are so skinny that they don't cut.  Cut a little sliver from the extra paper in your kit & glue it down to match the one that is there.
  • Only glue the butterflies in the middle so the wings can lift up slightly.
  • I used light sparkles for the body of the butterflied from the brown & tan sparkles assortment.


I think that's all the cards in the kit, if I left any out I will update.

We will be making paper bag mini albums at our next get together.  Let me know if you haven't picked your paper yet or want to join us!!


Saturday, March 2, 2013

I have wanted to scrapbook our summer vacation from last year since we returned, but it seems like there's always another project that takes priority.  I've made Christmas cards, birthday cards, gifts, Valentine's Day gifts and cards, and my box of vacation pictures just keeps sitting on the shelf.

Studio J is a fun way to get several pages done very quickly.  I like the layouts and themes available in tons of colors and patterns.  There's no cropping pictures, searching through paper, ribbon, or embellishments (although I love doing that, it takes TIME!).  I was able to get 4 double page layouts done in one evening.  I ordered them for $5 per double page, they print them & mail them to me, but they also sent me a JPG file of the pages.  I called around locally & found out I can have a 12x12 print done for about $4.50 a page ($9 per double), so it's actually cheaper to have Studio J print & mail (plus Studio J is all acid free).  I love a bargain :)

I'm anxious to see what the prints look like.  I might add some 3D embellishments to add a little to them, I guess I'll decide when they get here.

One of the things I love about  scrapbooking is that it reminds me to take pictures.  It's easy to go through day to day life and never think that these moments are the things we want to remember.  We always photograph graduations, weddings, and other big events, but that is such a small fraction of what we experience.  Parents almost always photograph the first day of kindergarten, and maybe the first day of school every year, but there are so many days that go by that we never think about recording it.

Scrapbooking also gives me the wonderful experience remembering & recording what happened.  I get to look through the pictures over & over until I pick which ones make it onto a page. Scrapbooking gives me a chance to stop and remember, it's so easy to never take the time to enjoy the memories!

So here we go . . . Decorating the memories!!

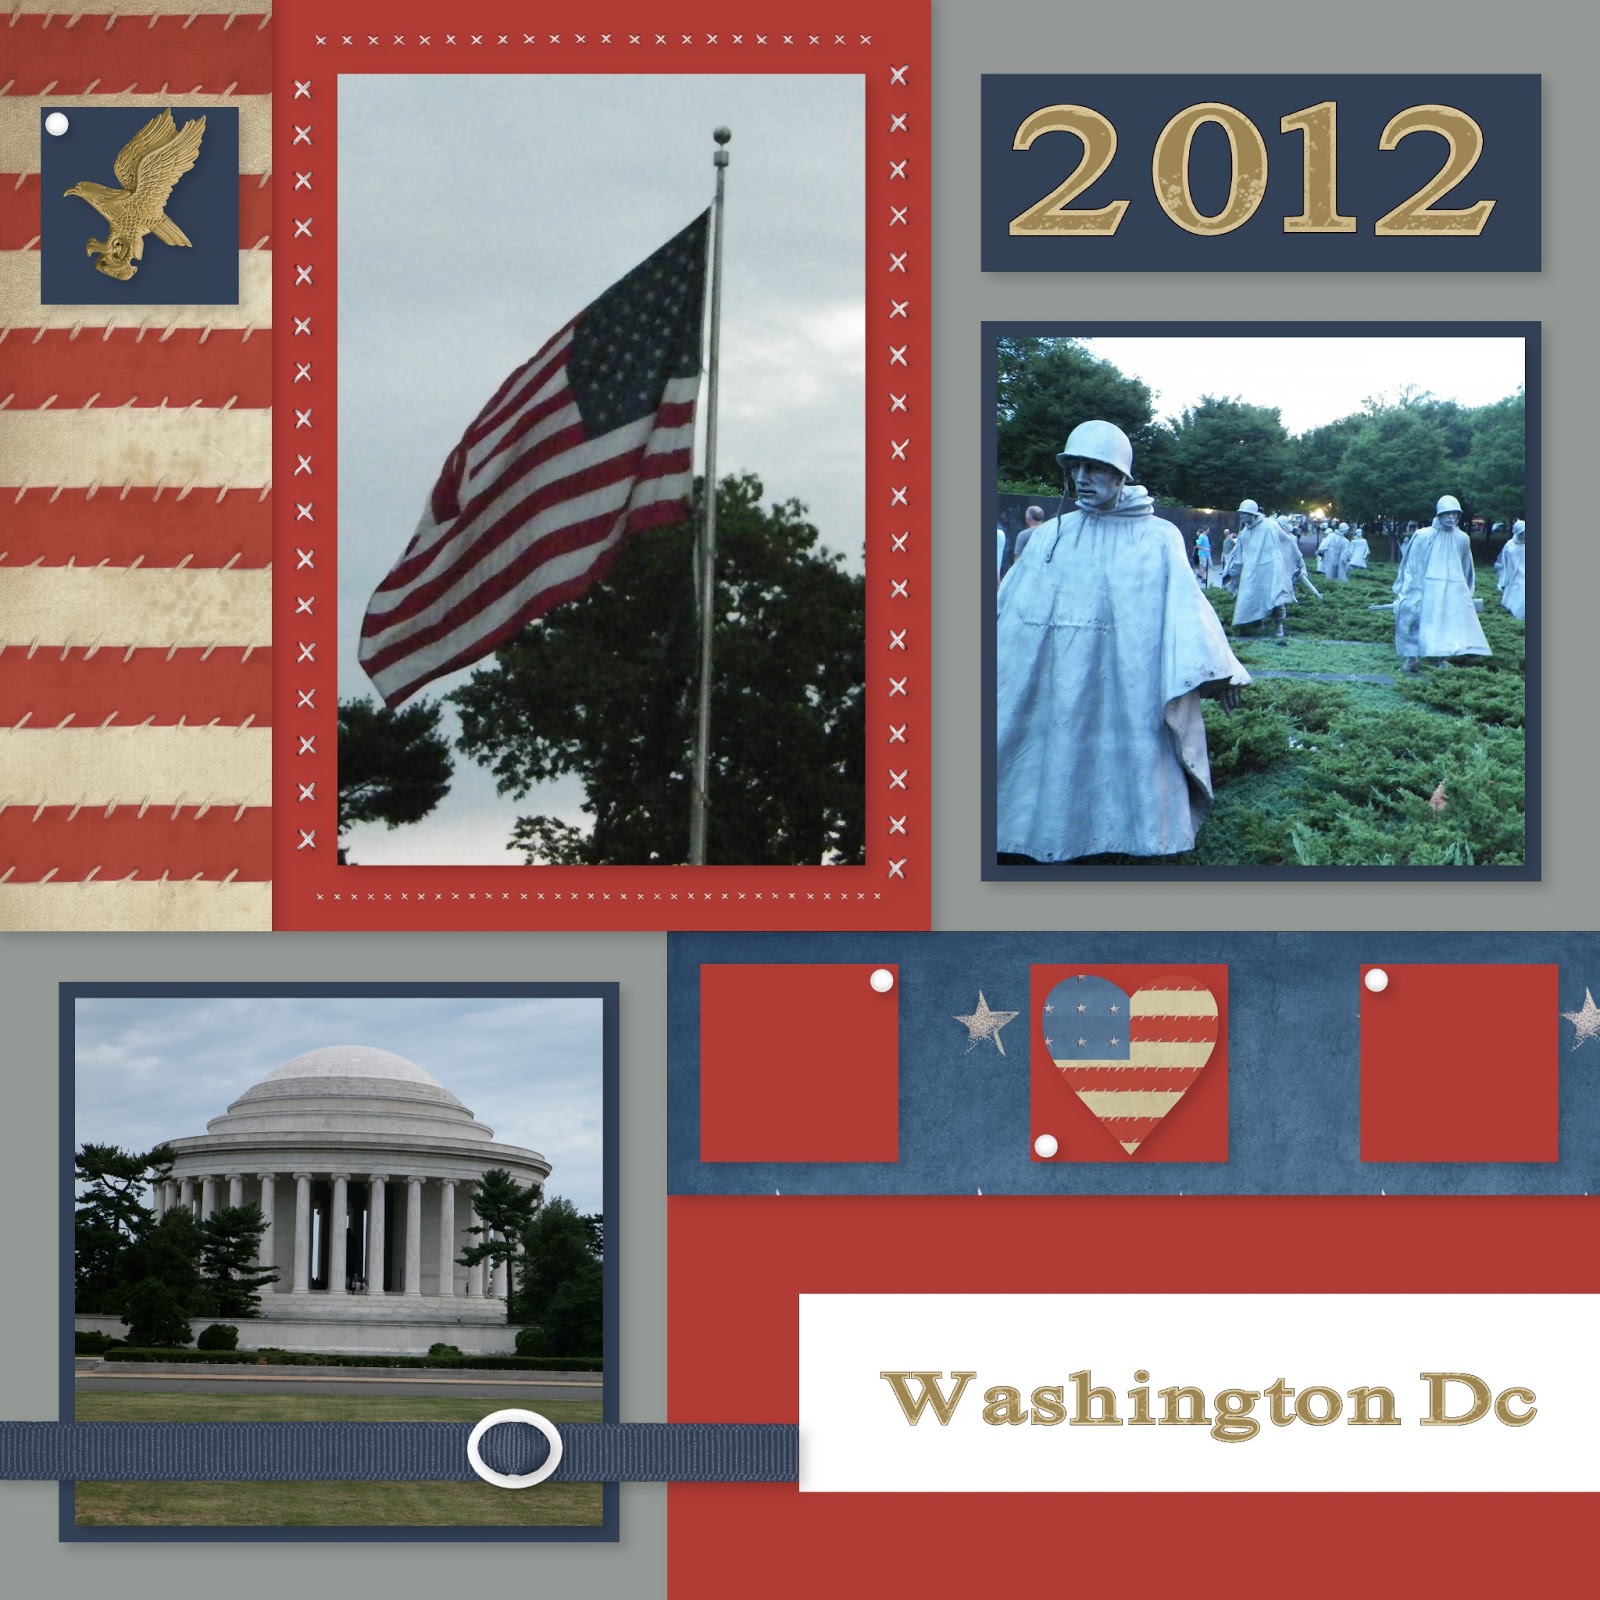
This is an intro type page that has pictures of several places we visited.  I love the obviously patriotic theme & the pictures that are easily identified as Washington, DC.  When people look at the book, I want it to be easy to tell where these pictures are from. 

This paper is "Independence Day" it's not available through Close to my Heart anymore, but the paper & all the embellishments can still be found on Studio J!  I added some ribbon, embellishments, and stitching to the basic layout Studio J provided.  It way really easy to make changes to the layout.  There was a place to add journaling & titles which made planning very easy.  The first is the left side & the second is the right, then what they will look like next to each other in an album.


This one is all about the Vietnam War Veterans Memorial.  I have a ton of pics from this memorial because it was one of the first we visited and it is quite an experience to be among all the life-size statues of soldiers "walking" through the garden designed to resemble Vietnam.  The wall is amazing in person - I didn't know my husband got a picture of the soldiers in the wall until I sorted pictures for the scrapbook.  I never imagined we would be able to capture the background since you have to be at the right angle to see them.

This is Buzz & bumble, a new paper in the current idea book.  I didn't use anything with the bees, but I like the other patterns. All I had to do was choose the paper, then the layout, added the pictures, embellishments and journaling.  Fast & easy.


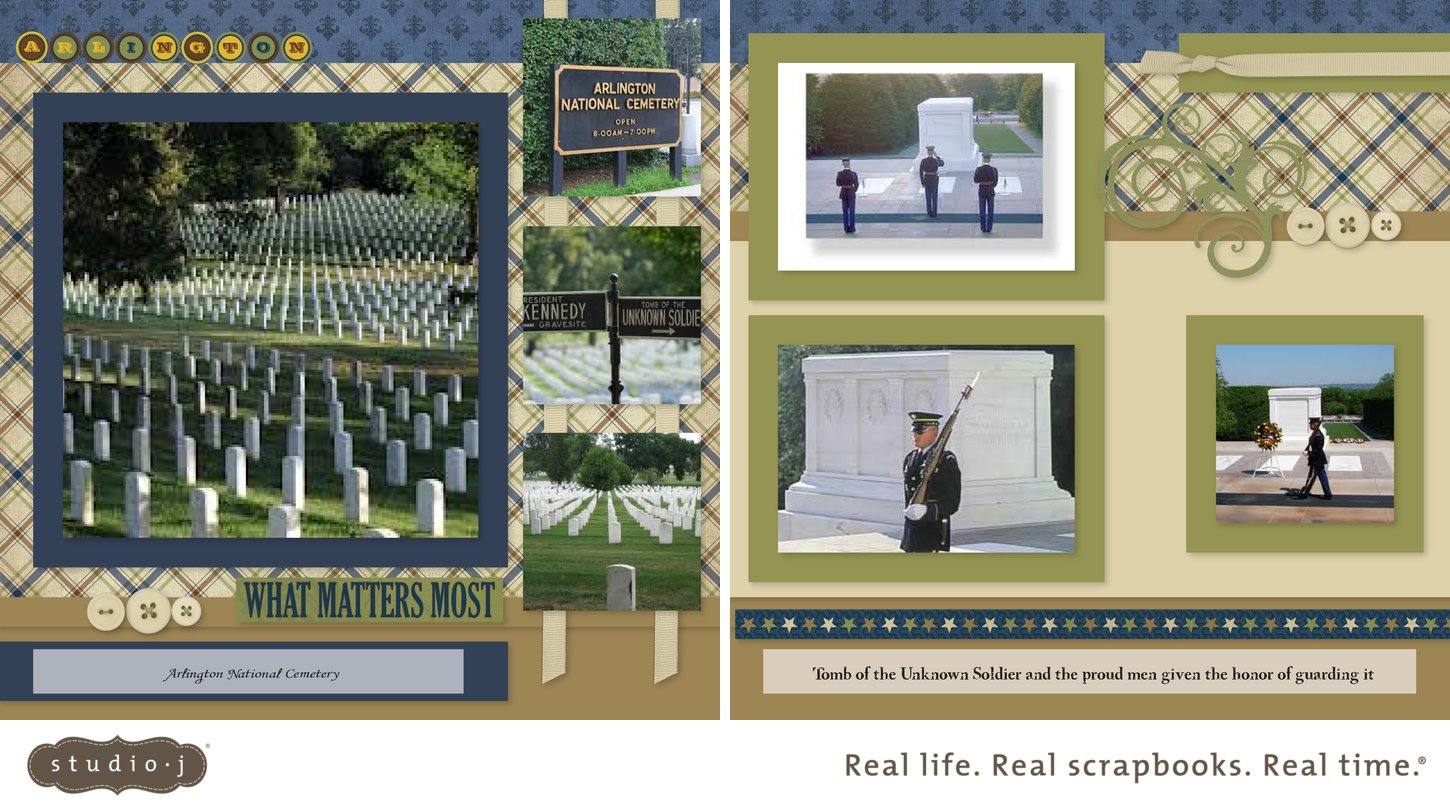
The Arlington National Cemetery & Tomb of the Unknown Soldier is something everyone should see at least once.   The paper is Victory.  I LOVE this paper, it has a camo page that isn't included on this layout, but is really cool!


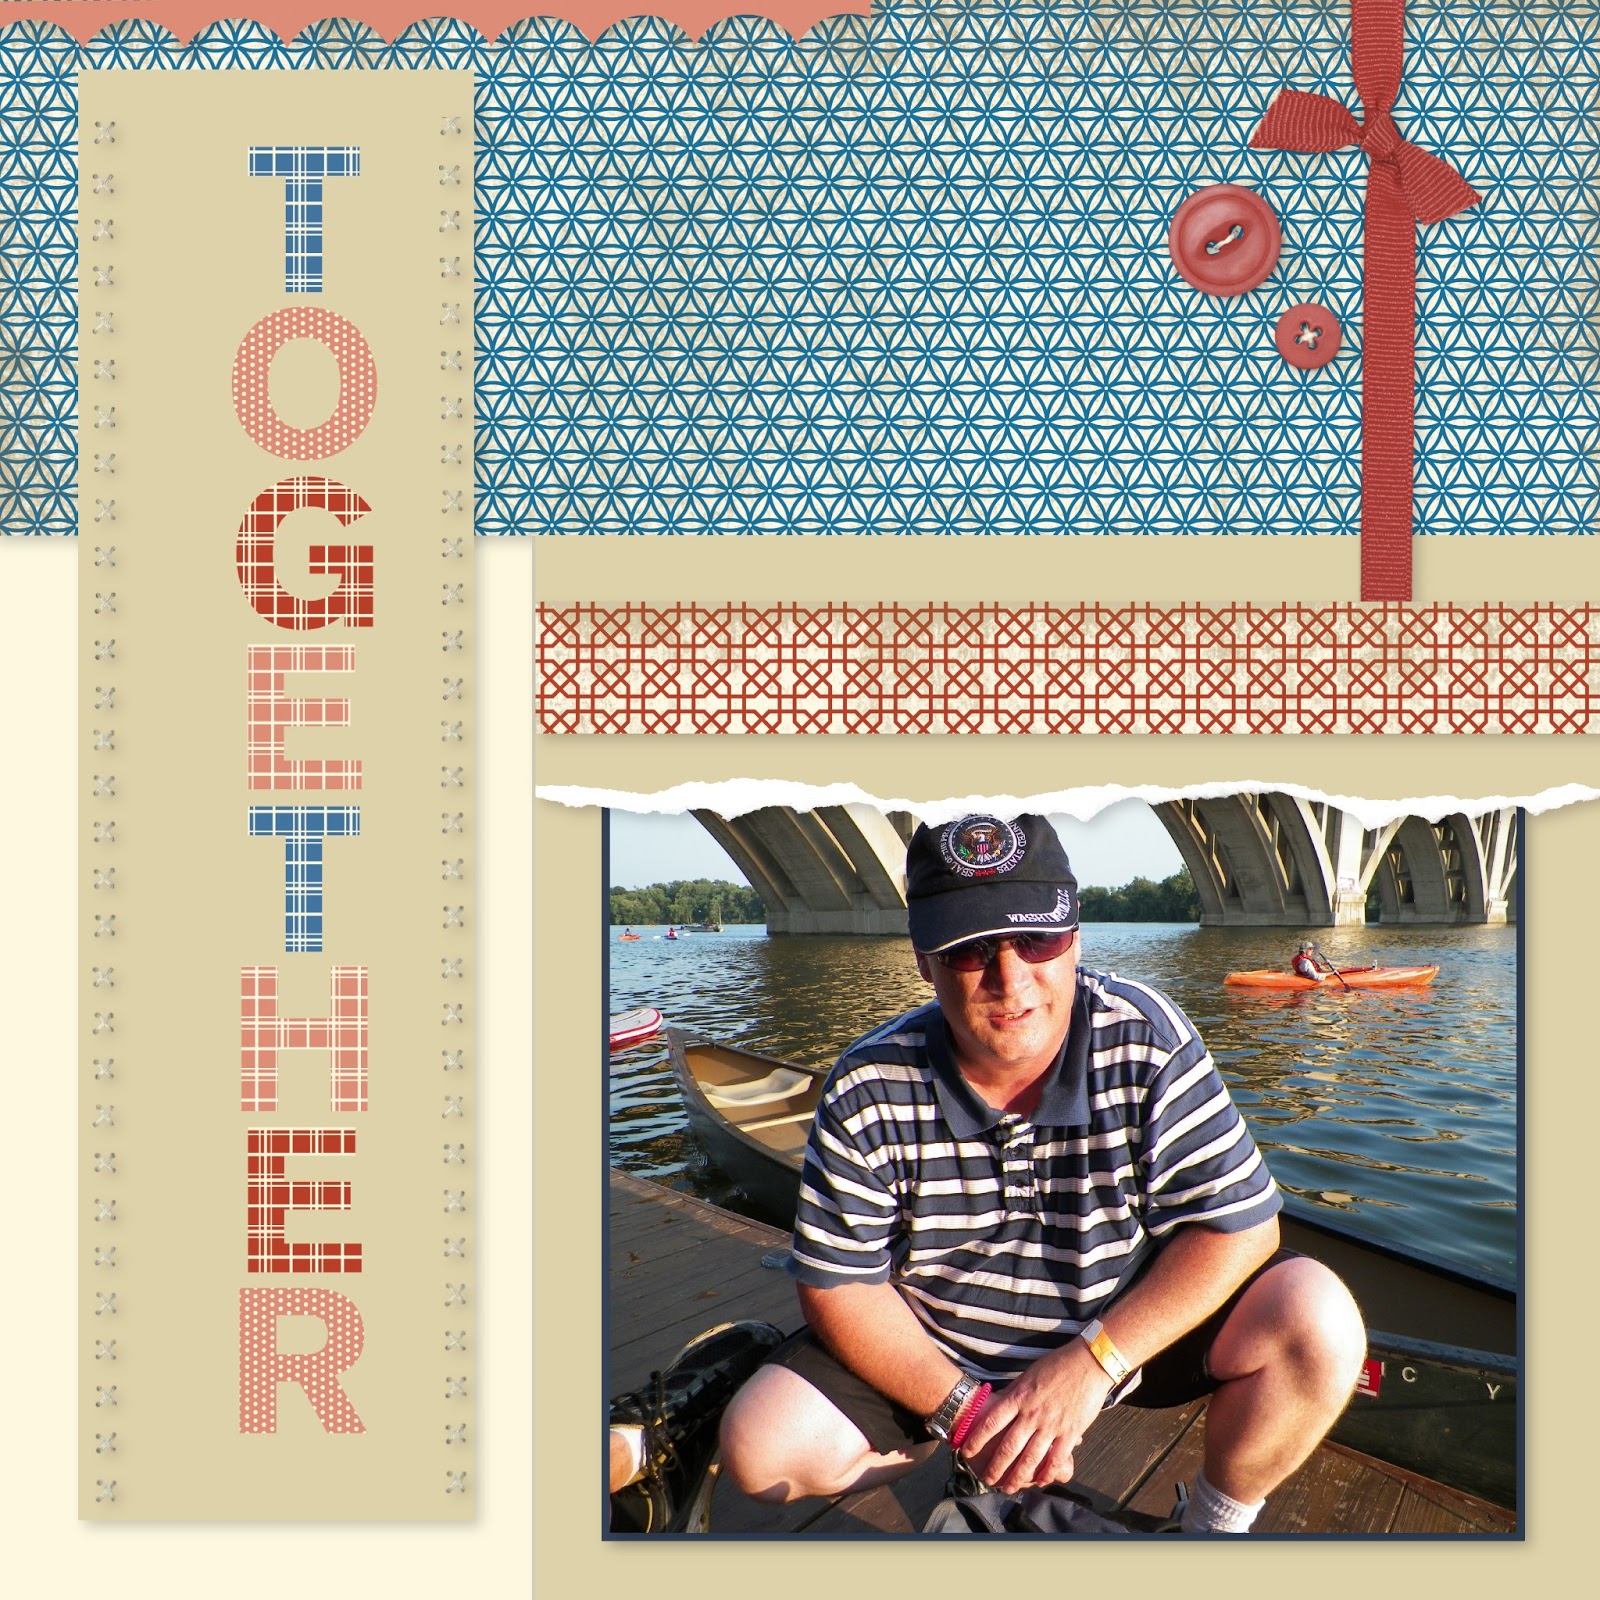
We took time away from the fast pace we'd been keeping sightseeing to canoe up the Potomac River.  It was a lot of fun to be all by ourselves on the water.

This paper is Elemental.  I like that it is red, white, & blue, but it isn't overly patriotic.  The letters, buttons, bows, and ribbons are all options available to add anywhere you want to!


I still have 746 pictures to go, but at least this is a start, and it just took me a couple hours.  If you have boxes of pictures you don't know what to do with, or you haven't tried scrapbooking yet, give it a try & be amazed at what you can make!  Start decorating your memories!

Click <<HERE>> to enter Studio J, You will need to log on, but it's free to design & explore as much as you want to.  There's no charge until you want to purchase pages.  There's a $5 special until March 15 . . . and you know how I love a bargain!!!


Wednesday, February 13, 2013

Valentine's Day Gifts

Here are a few easy Valentine's Day gifts that I made using the Close to my Heart Artiste Cricut cartridge & the Whooo's your Valentine stamp set & card stock.  I also used some patterned paper from my stash.


The first is a small mailbox I plan on giving to my son.  It would be such a cute way to deliver a special V-day card, but my kiddo prefers the candy. I used some red cardstock to cut the mailbox, door, and flag & then cut a piece of paper to cover the main body of the mailbox.  The flag is attached using a small brad so it moves up & down. I used the small "Love" stamp on the flag in a red that is just slightly darker than the cardstock.  It would have been beautiful to use some embossing powder in a sparkly white or pink.  The door opens and closes; I used super sticky tape to attach the scallop piece on the front of the door.  I would suggest NOT doing that.  It would have been better to use glue. The scallops are so small that the tape is visible between the scallops & I can't fix it without re-doing the entire thing.  Now I know . . .


This one is just a small box.  I used the zigzag stamp on white card stock to make a cute paper. I tried to use 3 shades of ink on the zigzag stamp like I saw on (Helen's) blog (for example, red in middle, light pink on the top, another shade of pink on the bottom) but my shades were too close together & didn't show up like I hoped.  I will be trying it again because it was such a neat effect.  I didn't get the zigzag matched up exactly on one part, so I covered it with the paper bow.  The edges are all inked & I added silver dazzles to the bow, the top & bottom of the box.  I originally planned to put 4 treat tubes in this but decided to just fill with candy.  I will put it in a clear bag & tie with ribbon to make it a gift that can travel without spilling.


I LOVE the new tubes! They are super easy & fast to make a great gift. I stamped all the way around the box I added some silver ribbon tape around the box - I didn't realize at first that is wasn't just ribbon - it's tape!!  It's nice to have adhesive already on the entire ribbon (PLUS, it comes as a 5 yard spool!!!). There are small silver heart dazzles to the top corners of the box.& a heart dazzle to hide where I attached the banner.  This only took a few minutes to make, which is great because I just found out I need to make about 15 more for my son to take to some friends tomorrow.  Why are moms always the last to know?!?!  Each tube holds about 15 peanut M&Ms - big enough to be a gift - small enough that it doesn't cost a fortune to fill.  One more tip for the tubes - I put a glue dot on the bottom of the tube to attach it to the little box just because it makes it easier to transport & pick up.  People who know me know how cheap I am - I give away homemade jam & ask for the jars back - I made a V-day gift for my dad with 5 tubes & told him to give them back when he's done with the candy!  Why not wash & re-use??  He said he didn't want them once the candy was gone anyway.


The last is a milk carton that I filled with candy.  I used super sticky tape for the half of the carton top that stays closed & repositionable glue for the half that opens up - just use the Close to my Heart Bonding Memories Glue Pen but let it dry a little bit before pressing the 2 pieces of paper you want to be repositionable together - no need to buy different types of glue - one glue pen can be permanent or repositionable depending on how it's used (LOVE that!) . The bow, hearts, & banner were all cut using Artiste. I usually cut items about 1/8" larger than the stamp calls for.  I try to do test cuts on scrap paper before using my good paper until I know the size will match the stamp the way I want it to.  The bow is held together with a small brad.  I "fluff" it after the brad is attached.  All the edges are inked to help each piece stand out.  I also used some small silver zigzag dazzles along the top & bottom of the heart paper.


Tuesday, February 12, 2013

Come along with me!!

I am starting a new journey . . . And want to share it with you.  I never thought I would be starting a blog devoted to scrapbooking, card making, and crafting in general.  Here's to jumping in with both feet!!

Crafting has always been a part of my life. My mom and I used to watch a crafting show featuring "Aleen's" products; oftentimes, we would go buy the supplies & do the project ourselves.  I made my best friends in high school pajama pants for Christmas one year (they say the still wear them, but I'm not so sure).  I worked my way through college by sewing & doing alterations on wedding dresses & tuxedos.

About a year ago I took some cake decorating classes & really enjoyed it. . . I still do . . . but I wouldn't fit into my pajama pants if I made cakes every day.  I came across a Cricut cake machine that cuts fondant (think - thick icing) to decorate elegant cakes.  My husband got me a Cricut Cake mini for Mother's Day. I cut fondant for days, it was so much fun!  But . . . I don't make many elegant cakes!  AND I hate the way fondant tastes!  I would spend hours upon hours, day after day making sugar flowers & piping borders, but after a cake gets cut, it's gone.


Then . .  I learned that my little machine could cut cupcake wrappers & cut paper in neat shapes to make cards, which led me directly to scrapbooking (and the need for a full-size Cricut). I learned there is an entire community of people who connect through their ideas & their creativity.  I watched hours of YouTube videos & found websites that produced videos on how to do use their products & shared new techniques. It reminded me of the time I shared with my mom learning how to make new things.  I love that scrapbookers & cardmakers design & create something special and then happily share it with the world.  These people do not patent their ideas and keep them hidden away; they consider it a huge compliment when someone copies their idea, adds to it, and creates something even better. I love looking through photos of my family to decide which ones make it onto a scrapbook page.  I love thinking about someone I love as I make a card just for them. The scrapbook pages may get put into an album and stored away; the cards may be put in the bottom of a sock drawer; but the time spent creating is a special memory for me. I also hope that when the sock drawer gets cleaned out months from now, that handmade card still produces a smile.  This blog is a way to share some of my work:  scrapbook pages, cards, perhaps the occasional cake or even homemade pajama pants. 

I hope you are patient with me as I learn how to blog & enjoy the things I post. I am looking forward to sharing my work & the work of others who astonish me with their creativity and skill . . .it's sure to be a fun ride.